Apollo: Saturn V
 |
| And so it begins |
First Stage: S-IC
With the deadline of the 50th anniversary of the moon landing looming at the beginning of the year, I needed to make a difficult decision about this overall project. I still had three kits to complete before July 20: the Atomic City 1/12 Mercury capsule, the 1/32 CSM, and the 1/96 Saturn V (with the detail kit). I also still had the 10" Apollo Astronaut on the Moon on the workbench, awaiting painting and final assembly. I quickly realized there was no way I would be able to finish all three, to my satisfaction, within that time span, so I had to remove kits from the schedule. I decided to focus on the Apollo astronaut figure and the Saturn V. These two kits would likely eat up my remaining modeling time until July. I'm a little late in getting an update to this process and the project, so I'll just begin with bringing the build of the Saturn V up to date here. I will update the Apollo astronaut build in a separate post.
 |
| Background research |
A Side Note
My guiding build philosophy for this project (and most of my display projects) is the idea of illusion. Scale models can run the gamut from basic and inaccurate to super-detailed and near-perfect replica. On the one end of the spectrum (basic), the illusion of the model representing the actual object is nearly nonexistent; it is difficult for the viewer to believe that the model represents the subject. On the other end, the replica really provides not just illusion, but actual representation of the subject, albeit (usually) smaller. I strive to hit something in between the extremes, but as close to the replica state as I can get with a standard audience. Experts on a subject will always see flaws or mistakes in a scale model, but the farther the viewer is away from expertise on the subject, the more realistic or representational the model will seem. I want to give the viewer the experience of believing they are seeing the actual subject, but smaller. Pretty subjective, I know, but after all, this is art.
My guiding build philosophy for this project (and most of my display projects) is the idea of illusion. Scale models can run the gamut from basic and inaccurate to super-detailed and near-perfect replica. On the one end of the spectrum (basic), the illusion of the model representing the actual object is nearly nonexistent; it is difficult for the viewer to believe that the model represents the subject. On the other end, the replica really provides not just illusion, but actual representation of the subject, albeit (usually) smaller. I strive to hit something in between the extremes, but as close to the replica state as I can get with a standard audience. Experts on a subject will always see flaws or mistakes in a scale model, but the farther the viewer is away from expertise on the subject, the more realistic or representational the model will seem. I want to give the viewer the experience of believing they are seeing the actual subject, but smaller. Pretty subjective, I know, but after all, this is art.
 |
| The F-1s in place |
The base platform resin piece also needed a little massaging to fit snugly into the kit bottom tank body piece. My Dremel has come in very handy on several occasions on this build.
 |
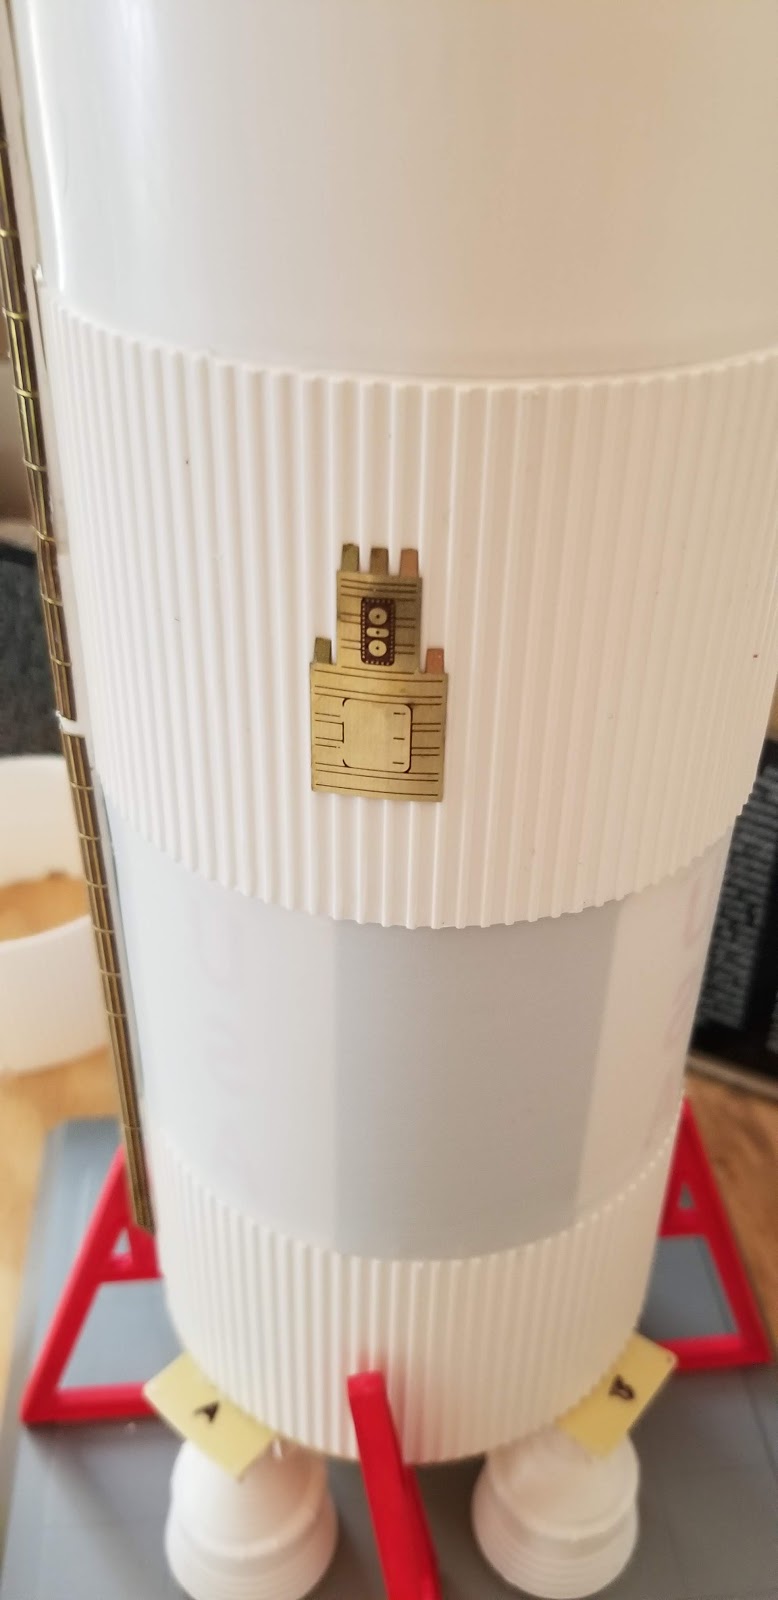
| The first photo etch details |
 |
| The fairings await their turn |
 I expected the set of photo etch details at the top of this stage to be quite difficult, due to delicate nature of the pieces and the manner in which they were to be joined. However, they came looking great. These pieces required modifications to the kit part corrugations, or ribs, around the outside the kit part.
You can also note in this picture my decision to turn the kit wraps inside-out, putting the pre-printed flags, lettering, and roll pattern on the inside of the model. The flags and the "USA" are slightly incorrect on the model, so it seemed a better option to put this on the inside to allow the primer I'll be using to cover the surface without the bleed-through of the kit printing.
Some final details, and the S-IC stage build is complete. It simply awaits the mounting of the fairings and a primer coat.
 |
| The stack begins |


